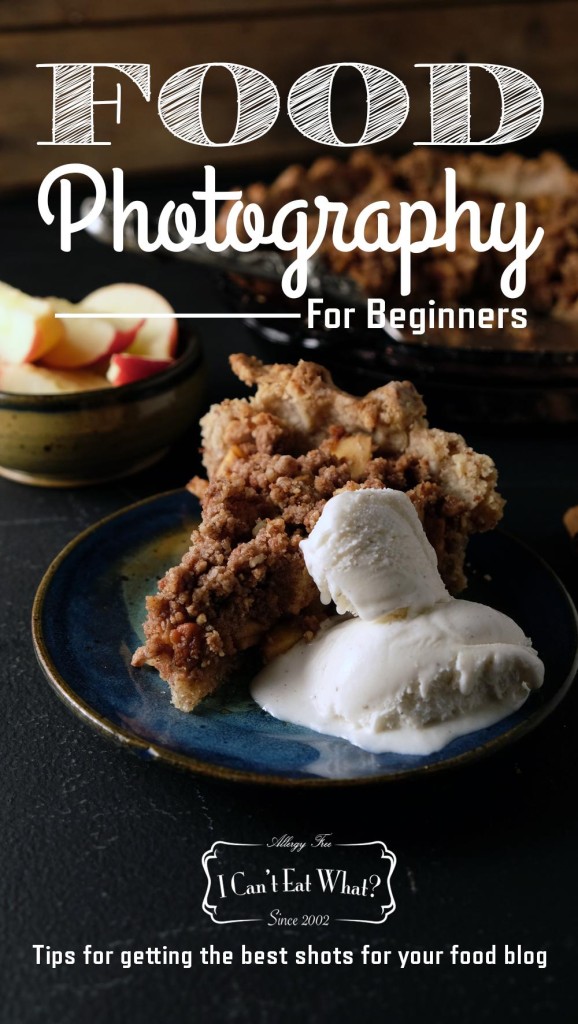
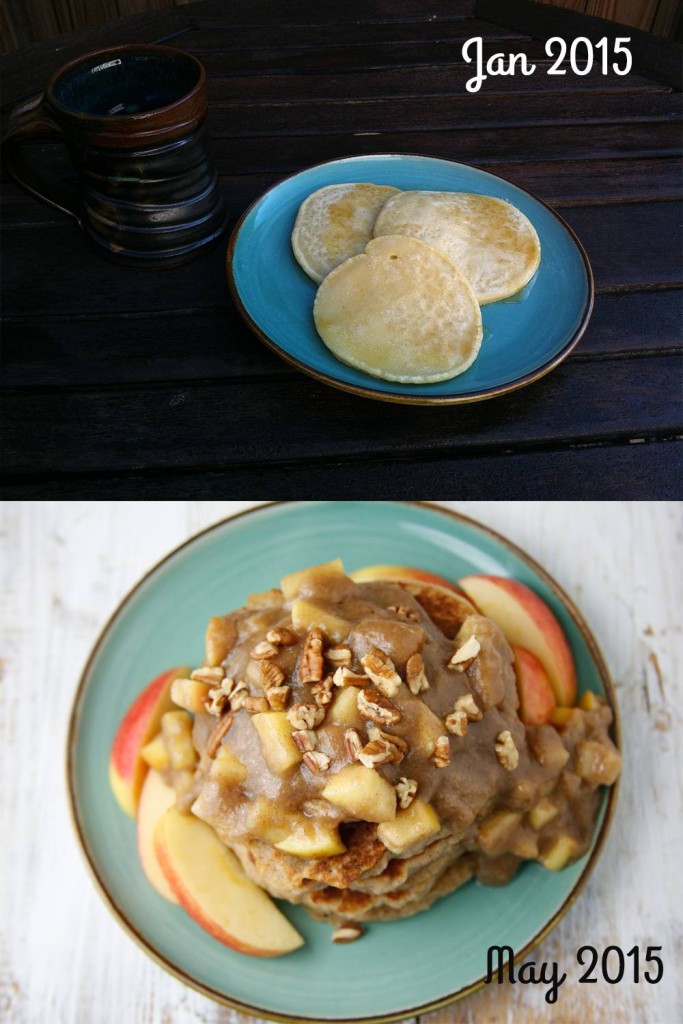
Wow, this has been a wild ride since I posted my wife’s first recipe 1 year ago; and discovered that I had much to learn about photographing food.
My first shots were, shall we say, U.G.L.Y. you ain’t got no alibi.
In retrospect, my lighting and composition looked more like the left-hand side of a cheap restaurant menu. I had no idea what I was doing.
At first, I thought, “look at these amazing shots that I am taking with my iPhone 4!” And people were liking the shots as well. I don’t know if they were being nice, or if people are so used to looking at crappy food photos that they can’t tell a good shot from something horrible.
I was listening to the SPI podcast by Pat Flynn, as he was interviewing the owners of Pinch of Yum. They were talking about getting their photos submitted to Food Gawker and Taste Spotting.
So I decided I should submit our photos to Food Gawker. Well, the first photos got rejected and I was kinda hurt. I was wondering, “What is wrong with my photos!”
 I knew they were in focus and had plenty of light because I put them right out in the middle of the sun. I had no clue! So I started really looking at the photos on Food Gawker.
Then I realized, “yeah my photos suck.” I knew that my wife had great recipes that everyone liked, but my shots, well… they were just wrong.
My lighting had harsh shadows and my compositions just had food on the plate with no thought of a story.
My number one tip is 1. Practice!
Don’t just cook a meal and think, “Hey I should take a photo”; then grab your cell phone and take a shot. Have a plan before you start your meal. Gather your photo equipment, first. Then you will not be scrambling to set up your shot while your food gets cold, and the kids are crying because they are hungry. What I do is, set up the shot in our bedroom or office and take practice shots of the plating or put objects on the plate to check the lighting.Once you do this a couple of times with a peculiar setup it shouldn’t take much time after you have you meal complete to get a great shot.
What I do is set up the shot in our bedroom or office and take practice shots of the plating, or put objects on the plate to check the lighting. Once you do this a couple of times, with a particular setup, it shouldn’t long, after you have your meal complete, to get a great shot.
2. Buy a good DSL camera.
I started this year trying to take shots of my wife’s food with my cell phone and didn’t have much luck. Then I borrowed a Canon 7D Mark II – which is an amazing camera – also a Canon 6D and a 5D Mark III – which is one of the top of the line Canon cameras. These 3 are a little over the top just for taking food photography for a blog. But once you start taking amazing food photos with these cameras people will start asking you to take pictures of other stuff. Seriously they will!
I have used a Canon Rebel EOS T3 and it does a pretty good job. It just loves a lot of light. Also, I have read about other food bloggers that are having great success using Canon 70D, but I have never used that camera. The camera that I have fallen in love with recently is the Fuji X10. With this camera, I can shoot exactly what I see in the lens, and the jpgs are as good as the RAW images in a Canon. You, too, can rent cameras from your local camera store if you are not sure which one to buy.
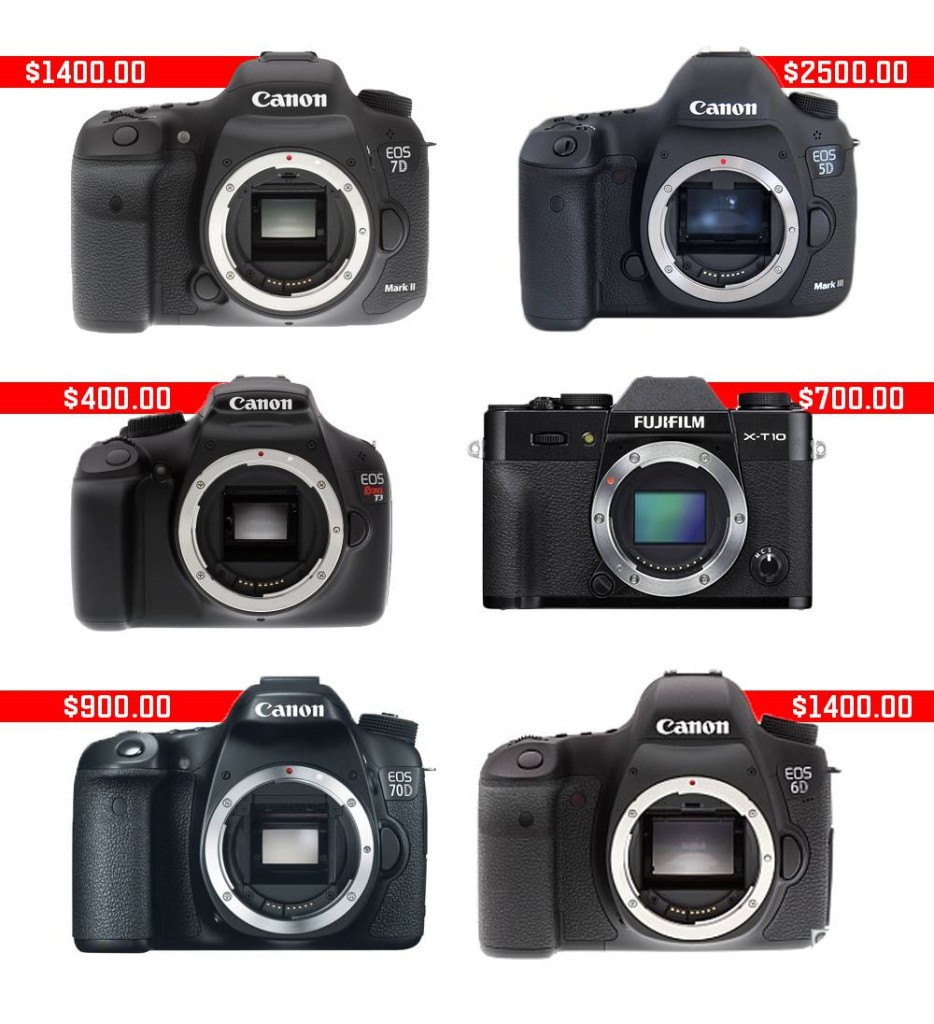 Now these are just the body of the cameras. From here you can spend a ton of money on lenses. I am not a professional by any means and I am learning just like you, so I can’t afford to spend money on a lot of gear. But my recommendations for lenses are to buy a fixed lens 50mm f/1.8 or a 50mm f/1.4. With fixed lenses you don’t have to worry about zooming in or out, your physical body is the zoom. For the Fuji I am using an 18-55mm lens that came stock with the camera. So which ever camera and lens you choose, spend time practicing.
“The single most important component of a camera is the twelve inches behind it.” – Ansel Adams
3. Telling a Story & Composition
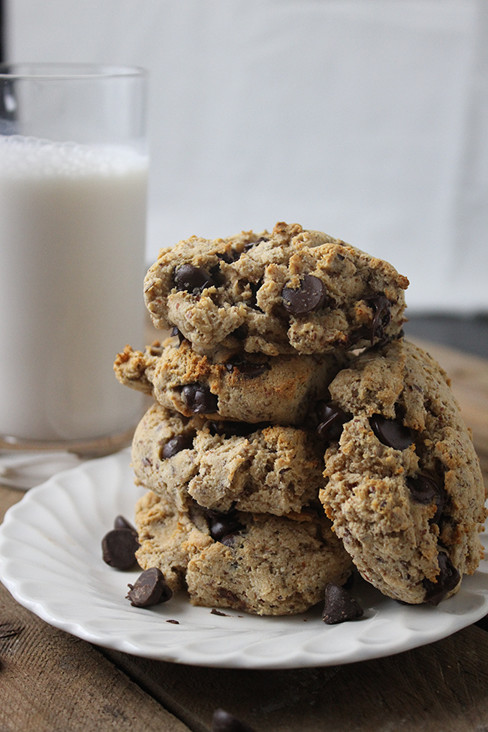
Your food needs to tell a story. Take, for instance, Goldie Locks and the 3 Bears. You know the story. So if you look at a picture with 2 empty bowls in the background and a small bowl full of oatmeal in the foreground, on an old wooden table, then you would know this is the 3 Bears story. For my shots, I want to be in the thick of it. Flour sprinkled around the table, spices that have fallen, rustic or elegant utensils, depending on the story that I am trying to convey.
For my shots, I want to be in the thick of it. Flour sprinkled around the table, spices that have fallen, rustic or elegant utensils, depending on the story that I am trying to convey.
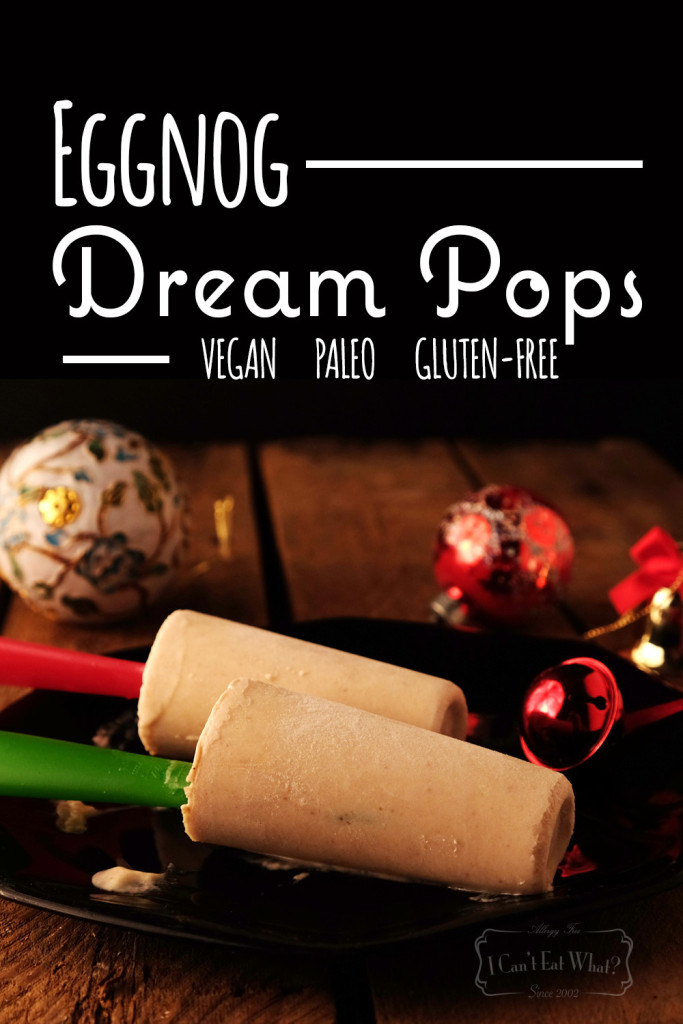
Since Christmas has just passed (and man it has been warm here in the South) my wife decided to make eggnog pops. So I thought it would be great to have some ornaments in the shot, kinda like we were eating these while we were hanging ornaments on the tree and listening to Bing.
You can also use flowers in the shot, just to give a little color. They don’t have to be in the foreground, but can be in the back just to give some eye appeal. Most of the time I use a minimum of 3 images in a shot, and put them out of focus, so that my main image is totally crisp in the front.
4. Surfaces
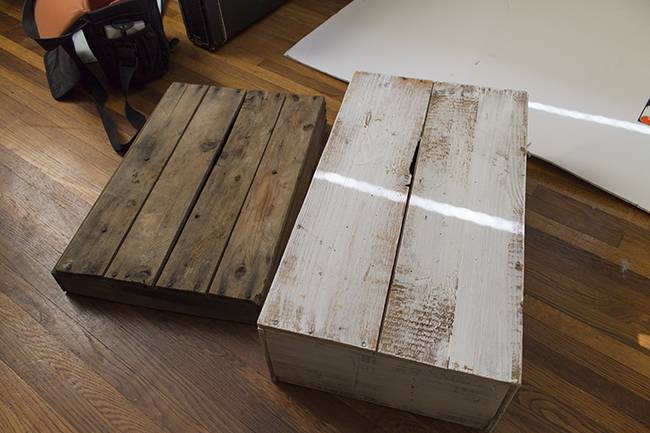
This is another bit of information that will totally transform your shots. Just like telling a story, a surface tells about where you are when you took this shot. Even thou you may be shooting on a coffee table, you can transport the viewer to anywhere in the world with what your surface shows. I found this website (http://www.ericksonwoodworks.com) that totally gets the idea of surfaces. You can also use tablecloths, napkins and wooden boxes to get the same effect.
5. Plating
One thing that I figured out this year was to do smaller plating.

Because the bigger your portion size and plates, the bigger your background is going to have to be. If you have a large work space, then it would be fine. But if you are like us, you have a limited area in which to work.
So my suggestion would be to find smaller plates and glasses. That way you are able to get the whole plate in the shot if you need to, or you could zoom in and take a close shot. This just gives you more options.
6. Lighting
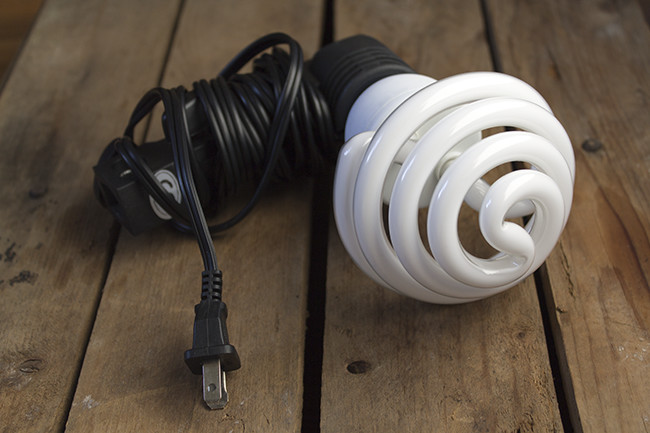
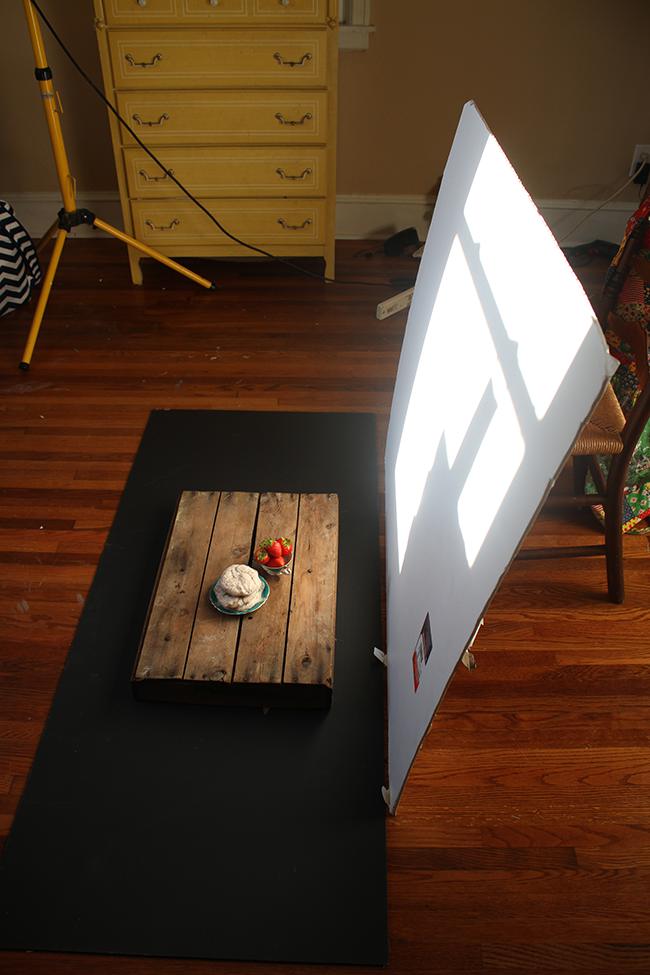
Lighting was the hardest thing for me. I could never figure out how people were getting their lighting so perfect. I tried work lights (being cheap), shirts in front of lights to get rid of the yellow tint. Finally, I just had to break down and buy set of lights. Light Kit Found Here.
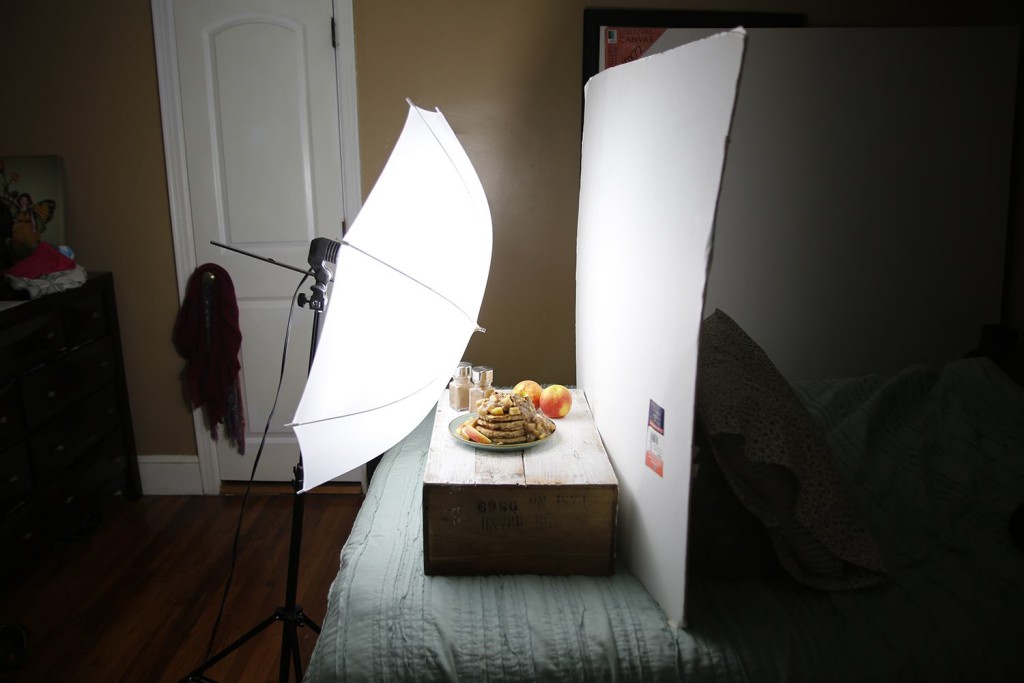
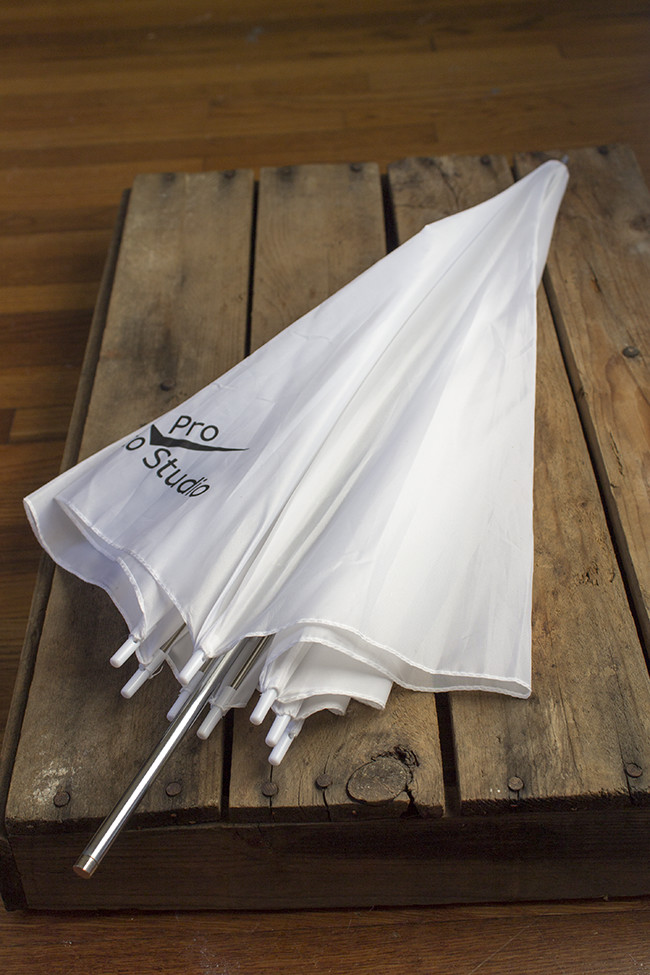
My setup is easy:
- 1 light stand
- 1 Umbrella
- 1 light
- White foam core
I bought the set with 2 lights, but it seemed to be overkill, so I just use one. We have a couple of boxes for our table tops and we use our bedroom for our studio.
 If it is bright outside we use a window that brings in light which can be defused with foam core – as you can see here.

7. Sharing is Caring
Now that you have taken the most amazing food picture ever, you need to share your glorious photo with the world. But where would you post it to get the most bang for your buck.
The first place we always post is Food Gawker. It still gives the most shares of any other platforms for us.
Food Gawker has a submittal process. I could go on and on about how upset I was that they never picked my images until I started trying to mimic the photos on their site.
Once I found the formula that worked for me, I am able to constantly submit images that I am proud of. Food Gawker hasn’t turned down any of my images in months.
We also submit to Taste Spotting and Health Aperture. These are great sites as well, but Food Gawker still drives more traffic than the other 2 combined.
Pinterest is what we’re using now to draw more traffic to our food blog. Food Gawker is easier to draw traffic, initially, but it doesn’t last -after a day or so traffic starts to slow.
I was listening to the Side Hustle Podcast from Nick Looper as he was interviewing Rosemarie Groner from The Busy Budgeter, and she was saying how many visitors she was getting to her site from Pinterest. So I thought I would give it a try. Using her method and some other methods (that I will be sharing later on), we were able to increase our followers on Pinterest from 100 to 1200 in a months time. Pinterest is a site that consistently keeps visitors coming.
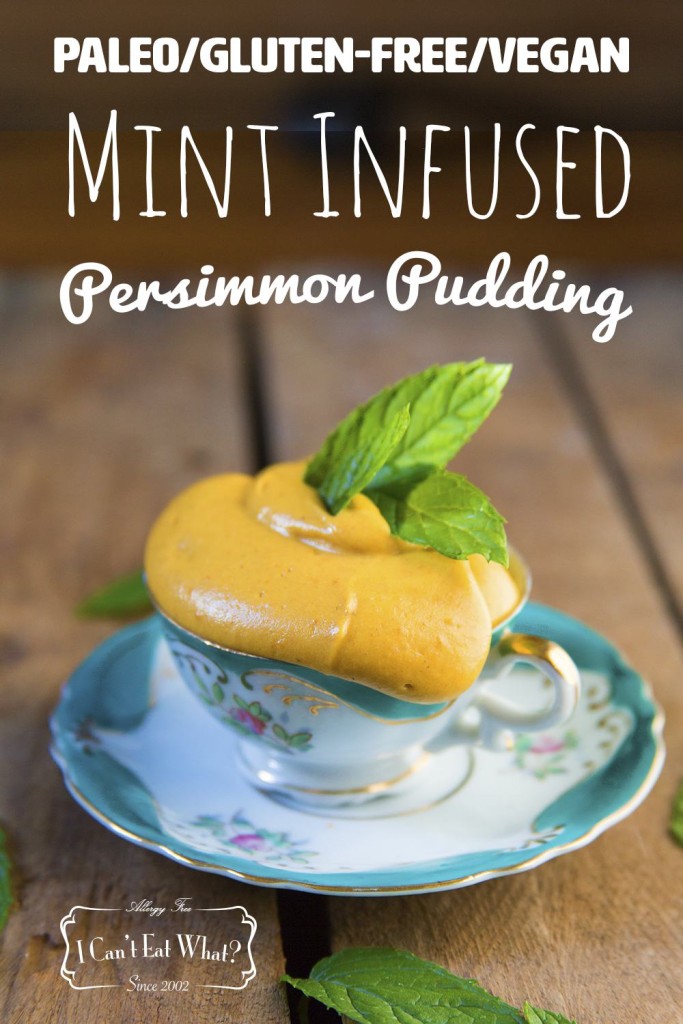
So I am going back through all the pictures that are on the site and placing nice fonts over the images like this:
8. More Tips & Classes
If you are interested in drawing amazing traffic to your food blog, sign up below to receive more information about classes that I will be starting in 2016.
 Hi! I’m Katrina, home schooling mother of 3 amazing daughters. I’m an artist, singer, songwriter, musician, health and fitness enthusiast.